I started off using my normal processing steps (i.e. stack, run through my Photoshop Action set, color correct, some manual stretching, possibly GradientXTerminator, a few other actions, noise reduction) I did these and then used a plugin I have and occasionally use for my normal photography business called Color Efex Pro. There are a few of the steps in there I have found useful for certain astrophotography targets so gave them a try. Using Detail Extractor, Tonal Contrast, and Pro Contrast I was able to tweak out a bit more of the dust and get a nice looking final image (you can see higher res on my website).
Now is when I started to play some more. I could tell there was more dust to be tweaked out, but was getting to the manageable limit of noise for a final image, but that doesn't mean I couldn't play just to see what was there! I did a few more curves and then brought the image over to my Windows PC where I have another one of the Nik Software suite, HDR Efex Pro. I ran it through there just to see how much of the range I could pull out and was amazed. Obviously the noise overran the image, but the amount of dust in this area was phenomenal. Especially as I had always assumed one needed 15+ hours on it to pull that kind of dust out (and probably would to do that and not have the noise at full size).

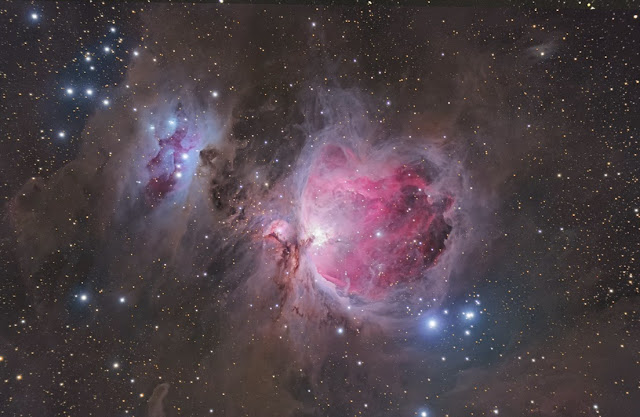
Even in this small size, you can start to see all the noise but the dust still looks quite impressive. Amazing what an unmodified DSLR camera, modest telescope, mostly dark skies, and 8 hours of exposure can show that you just can't see when looking up at night!
*note: I do not get anything from the external companies or plugins I mentioned above. I just include them and the links to explain to other astrophotographers what tools I used and help them find them easily if they wanted to check them out. I am not intending on promoting them, more just to be thorough in my processing explanations.

No comments:
Post a Comment